Friday, October 18, 2013

MAGNA Mountain Bike / Is this Department Store Mountain Bike Thing Ever Going To End?

Hello and Welcome
As I mentioned in an earlier post, this year will forever be remembered by "yours truly" as The Summer of the Department Store Mountain Bike. This D.S.M.B. belongs to the son of a friend. I was told it needs a new shifter thingy for the front gear thing. (or something to that effect) ltms... I was sure I had a decent set of twist grip type shifters I saved from the LL Bean bike. And after this lad's mum told me this young man had given his other bike to a friend who badly needed one...well how do you say no to that?...... Right! You don't

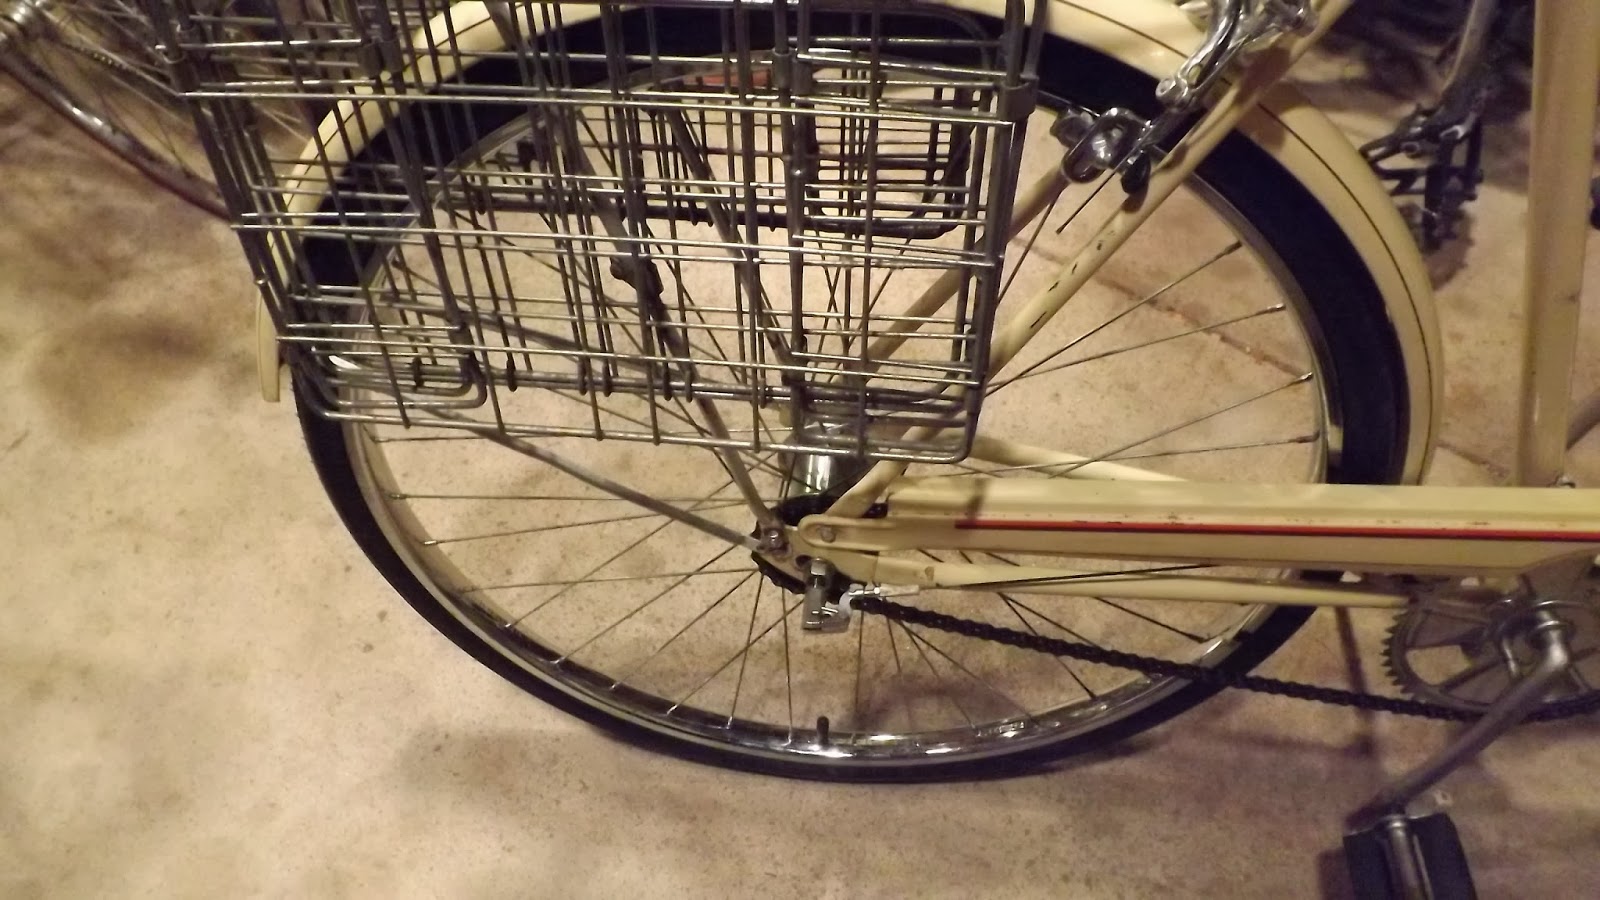
Above: I hope you are on a Personal Computer< or something with a big screen so you can click on this pic and see the labeling that I just recently learned how to do.

Above: The broken shifter is pretty simple, first I locate the replacement. Ok now I disconnect the cable from the front derailleur. I will then remove the short grip by carefully inserting a small slotted screwdriver and give it a quick shot of WD40 inside the grip. Ok the grip is off that was simple enough. Now I pull the shift cable free of any cable guides or braze-ons. For the twist shifter I locate the hole and insert the correct size Allen wrench and loosen the Allen screw or bolt. Now the shifter mechanism will slide right off the handlebars. Now for the sake of keeping it simple I kept the cables and housings with the salvaged twist shifters. So this is basically a remove and replace job. So now it is just a matter of sliding the new shifter into position and tightening it's Allen screw.

Above: Then I route the cable to the front derailleur using the original derailleur cable housings. I make sure the shifter is in the 1 or low position and I have no slack in the cable. And of course I have the chain on the small chain ring and with no cable the derailleur is in position over the small chainring. Now I attach the cable at the anchorpoint and try the shifter. Now it is working fine, so I can install the original short grip this will make it look more original. Remember the thin plastic washer that is probably on the floor goes between the short grip and the shifter. I'll adjust the shifter latter on, right now I have bigger fish to fry.

Above: When I spun the rear wheel it sounded like it was rubbing the frame. It was actually a bad bicycle wheel bearing and badly worn cone shown above. This is kind of cool... The replacement cone and bearing cartridge are both off his mom's bent rear wheel I recently replaced.

Above: On the left is the replacement bearing cartridge. On the right is the bad bearing cartridge. The bad one has been cleaned I suspect the bearings probably turned color as they overheated. The new bearings will be packed with grease before installing. And the axle and cones will get a little grease too. I like a light coat of grease on the axle to protect it from rust.

Above: I do not like the look of this bearing cup, but it feels pretty smooth so I'll use it for now. But I think I will be finding a good salvaged rear wheel and hub for this bike at some point in the future. As I think John mentioned on the face book page recently.... The one good thing about these D.S.M.B.'S is salvaged replacement parts are plentiful. And many of the parts are like new since these bikes are usually disabled so early in their lives. So I guess the message here is, If you can't fix it yourself you better learn fast or buy a better bike.

Above: While I have it off I'll clean up the freewheel with a quick spray with White Lightning Clean Streak. And lubricate the free wheel by adding a few drops of oil to the gap and spinning the freewheel in my hand to let the oil work its way into the needle bearings.

Above: Here is the rear hub all back together and working really well. I checked back after a few days and the lad told his mum the bike is working great. I did do a small adjustment to the low (L) limit screw on the front derailleur before I took the bike back and it was working fine. I also had to take a wee bit of tension off the front derailleur cable to get it dialed in.

Above : As for the front hub, it just needed the cones adjusted (they were set a little too tight) and a little grease. The boy should notice this bike rolling 100% better than it was last time he rode it.

Above: The bike ready to go back home. As usual I have placed the worn or broken parts in a zip lock bag. A few other things I did were to reposition the brake levers and reflectors. The chain was lubed with the White Lightning self cleaning lube. And then I just cleaned up the bike a bit with Armor All Cleaning Wipes. Which reminds me I have to pick some up at Meijer's tomorrow.
Now I need to repair my friend Tom's rear wheel. Which ironically has almost the exact same problems. But it's NOT a Department Store Bike. Holeluuija!

Above: Tom's wheel off his Giant Mountain bike. I ran into Tom the other day and He said "Hey Hugh I got something for you". So he opens the trunk of his car and pulls out this rear wheel. Basically he said It needs a broken spoke replaced and could you take a look at the cones, I think they might be bad. I look at the Freewheel and see it is a Shimano (I have the right tool to remove it) Sure Tom no problem.

Above: Yeah these cones are shot alright. So I took the axle, with one of the bearings and the cones and spacers along with the broken spoke to Cycle Therapy in Waterford. I didn't have any black spokes and this is a really nice bike and I wanted tho replace the axle and cones with new. Cycle Therapy had everything I needed. They also had some citrus based Park Tool Chain Cleaning Solvent in stock. This is cool as I have been out of this stuff for what seems like forever.

Above: Although these bearings look o.k. to the naked eye, they have to be damaged if they have been rolling on those cones for a while. The young man who waited on me suggested I reuse the original spacers. I already knew this but I was impressed that he thought to mention it. Ernie has some good people working for him (at Cycle Therapy) who have kept me on the right track more than once.

Above: The take down and reassembly went fine without a hitch. Everything got a good cleaning and re greasing. Did you ever notice it is almost always a spoke on the drive side of the rear wheel that breaks? In this case it didn't matter as the hub had to be broke down anyway.

Above: I have placed the wheel just inside the small shop/garage door so I don`t forget it. I am meeting up with Tom and some other friends in the morning. As usual I have his old axle, cones & bearings along with the spoke in a zip lock bag. I guess I could have tossed the spoke in the wheelie bin. I`m pretty sure Tom knows it could not be repaired ...ltms
P.S. Didn't mention it but I did also true the wheel on the stand, after the hub was rebuilt of course. Chatting with Tom earlier this morning He told me the wheel has 1,500 miles on it. If I understood him correctly the hub was never broken down and cleaned / greased. I guess that would explain the condition of the cones.

Until next time, Please RIDE SAFELY and remember to always.....RESCUE, RESTORE & RECYCLE
Cheers,Hugh

Friday, October 4, 2013

3 Speed "Delivery Bike" Project Finished

Hello and Welcome,
This project came together by chance or fate or whatever you want to call it. After a friend brought me the All Pro 3 speed (All Pro was a bicycle brand sold at K Mart) I got the idea of trying to see if the Schwinn rack with the folding rear mounted baskets would fit the All Pro. I received the rack as part of my payment for building Laura's Trek winter commuter late last fall.

Above: The All Pro Men's 3 Speed Bicycle as it arrived in what appears to be all original condition. At this point all I had done was clean up the bike using Armor All Cleaning Wipes. The only part missing was the front head mount front reflector.

Above: As it turned out the rear rack with baskets was a near perfect fit. This is when the "Delivery Bike" idea occurred to be. I had hanging from the ceiling rafters a Huffy ten speed with drop bars and a Wald front wire basket mounted on the front. Which I think looked real stupid on the "road bike style" bike. I do not recall ever seeing a Wald front basket attached to drop handlebars before. Although being it was a Huffy I guess it really does not matter.

Above: The All Pro 3 Speed with both rack and front wire basket mounted. At this point the bike looks pretty fair, but the old Fuji Camera is kind to old bikes. This bike actually is going to need a little work before it is ready to deliver newspapers or pizza.

Above: Here is a closer look at the front 26 inch rim. Not looking to good and this is the better of the two rims. Both rims will need rust removal and truing for sure.

Above: As one observant reader noticed, on closer inspection these tires look like they are ready to split between the treads. Although the sidewalls look pretty good these tires are not going to hold up under a load. If this is really going to be a utility bicycle it is going to need some new rubber.

Above: The side wall size information reads 26 X 1 3/8 . But what really gets my attention is this marking (fits EA 3 Rim). This is something I will make sure to look for (in the specs) when searching for new tires online. So when I search 26 X 1 3/8 Bicycle Tire fits EA 3 . I come up with Kenda K40 Road Tire 26 X 1 3/8 Black* - Steel* fits EA3 E3 and 650A (French). Now that sounds like a perfect match to me, so I went ahead and placed the order. Black* indicates a black wall tire. Steel* indicates wire bead. I know I mention this a lot, But when ordering tires if yours are fractional like 26 X 1 1/4 DO NOT ORDER 26 X 1.25 they are not the same. And if your tire info indicates a specific rim type make sure the tire you order indicates the same rim type. Again they are not all the same. Sheldon Brown has an excellent article about proper tire sizing. I think I will add it to the Links List in the right column of This Blog.

Above: Here is the tag off one of the new tires. Notice it is fractional (26 x 1 3/8) like the originals. And there are the ISO numbers (37-590) As luck would have it I only had the 597 ISO tires in stock. It also indicates that it was a wire bead just like the originals. Also the price on the tag indicates that I got a pretty good deal on these, as I paid considerably less than the $21.70 msrp indicated. They fit the rims nice and snug. I am always suspicious of a tire goes on a little too easy.

Above: In the first photographs all I had done was wipe the rims and tires off with Armor All Cleaning Wipes. This pic shows the rim after hitting it with the brass detail brush as well as the Vermont American fine brass wheel brush. And then polishing it with Turtle Wax Chrome Cleaner Polish. The rear wheel was worse (rust wise) than the front and I am amazed by how well it cleaned up. I`ll have to get some pics of the rear wheel tomorrow after I mount the tire.

Above: Since the initial clean up I have replaced the original brake shoes with Jag Wire X Caliper Brake Shoes. I also replaced the original brake cables with Jag Wire Basics brake cables. Since the original cables were not rusty inside the original cable housings and the housings were not kinked or cracked I decided to re use them. Not for the cost but for the color, the original housings are brown. However if they had shown any cracking or rust I would have replaced them regardless of color.

Above: Using my entry level Minoura wheel truing stand both the front are rear wheels trued up nicely with very little effort. I expected at least some of the spoke nipples would be froze up, but they all turned easily. As is typical with really cheap wheels, a few of the spokes were very loose. I tightened the loose spokes "just enough to get the slack out" before truing the wheels. And I was amazed to see the wheel bearings had been greased at some point. Normally I find the bearings on the cheaper bikes to be void of any grease. Which no doubt explains why both the threaded headset and one piece single crankset are very smooth. I will of course check them both anyway. It will "probably" be just a matter of smearing a little fresh grease on the bearings and closing things back up.

Above: This pick shows the badly bent left strut or leg on the rear bicycle rack. In case you can not read the caption, I straightened it by grasping it at the center of the bend and pulling Really Hard! Every once in a while the 32 years of laying brick comes in handy :)

Above: Here is a shot of the rear wheel all cleaned up and sporting the new Kenda K40 road tire. At one point I was considering replacing the rear wheel. I did not have much hope it would clean up this nice. I will not be replacing the shift cable or 3 speed shifter, as they are both in fine condition. I am more likely not to replace a three speed shift cable if it looks to be in good condition. The reason for this is because the three speed cable is not under the high tension that a derailleur cable is. In other words (in my opinion) it does not work quite as hard. So I do not think it is likely to fail any time soon.

Above: As for the cheap @$$ rolled steel kick stand, there was never a doubt in my mind that I was going to replace this piece of junk. As is typical with really crappy kick stands, it wouldn't even hold the bike up very straight. The bike was always on the verge of falling over. It's off to the scrapper for this piece of garbage!

Above: I forgot to order a new stand when I ordered the tires. I found this old American made Greenfield alloy kickstand in the garage/shop. After some wheel brushing it looks 100% better than the original ever did.

Above: The left strut or leg (rear rack) after straightening. This is a huge improvement. But it might need one more good pull to get the rack centered over the rear fender (mud guard). I will try to replace this pic with a better one latter on.

Above: As my friends and relatives across the pond might say, The original cruiser saddle looks to be in pretty good nick. Besides it does match the cable housings and handlebar grips. It is a wee bit lose but that's an easy fix. So for now it stays.

Above: I will polish up the touring handlebars and levers a bit and give the saddle and grips a good cleaning. Then I have another idea for a horizontal Detroit News advertisement (sign) that I will hang from the top tube. I also need to get my old Detroit News "route book" (from 1969) out of my trunk. It might make a nice prop for my delivery bike.

Above: Here I am making a "Detroit News" sign that will hang from the top tube. It will need to dry over night before I can paint the other side. I purchased some stencils for the sign today. The red paint for the lettering might be a problem, I will probably have to purchase that as well.

Above: The sign is finished. Unfortunately the number and letter stencils were too large for the sign. I did however purchase these vinyl letters and numerals the same day "just in case". I think the vinyl worked out pretty good.

Above: I thought it might be better advertising to include additional information on the other side of the sign. Now I will see if I can find that old route book, I am sure it is in my Steamer Trunk with a few other things I managed to save from my youth.

Above: I do not know how old these metal route book covers are. But I was told by the paperboy "Dave" who passed them on to me when I took over his route (my second) that they were pretty old. A few years latter Dave and I worked together again on his Dad's brick crew. I heard Dave became a (union) projectionist. Which they told back then was a really sweet job. It had to be easier than the brick crew that's for sure.....ltms

Above: Overall I am pleased with the way the delivery bike turned out. I will probably do a little polishing and maybe make a few changes, but it is basically finished. Back then (and still today) there were two big Detroit Newspapers, The Detroit News and The Detroit FreePress. The FreePress boys were up early, about 6:00am picking up they're papers. I didn't want any part of that nonsense.

Above: The delivery bike from the other side. The Free Press made The News easy to sell. My sales pitch was to tell people you can read most of what is going to be in tomorrows FreePress today in The News. It stands to reason that a paper that is on your doorstep at 6:30 am was probably "put to bed" (printed) in the middle of the night. But the Free Press did have some loyal readers and still does. To this day I wont read it! lol

The Detroit News was published 365 days a year. I think my Dad drove me on my route once on Christmas day. And that was only because we had to be somewhere else. Christmas was the best time to be a paperboy I think I made half my yearly earnings at Christmas time. Everyone tipped the paperboy at Christmas.

LEFT: Mrs MacArthur's house. One day while browsing real estate in my old neighborhood on the p.c. I spotted this house. Mrs MacArthur was my favorite customer on my paper route. She would sometimes have hot chocolate and fresh baked cookies for me. As I read the real estate add I noticed the house was only 700 and something sq feet. It did not look that small to me then. I think this was really where the idea of the Newspaper Boy delivery bike came from. Another customer gave me 5 dollars a week to walk his dog everyday on my paper route. One customer a poor widow lady had two sons who had turned her house into a "crash pad" (dope house) while she was working everyday. The boys had really trashed the place. I felt so bad for her I never collected for the paper. One day she caught me and asked my why I never came to collect. So I just told her the truth. She saw the American and Canadian flag patch on my shoulder and asked me, do you play hockey? I said yes I love hockey. She said come in I want to show you something. I was reluctant to go in, it smelled pretty bad in there. But the boys were not around so I did. She took me to a room that had Hockey Equipment scattered all over the floor. She said when the boys were young and their father was alive they played hockey. Then she said "take whatever you want". That was how I got my first real good pair of hockey gloves and elbow pads. I took good care of my customers and they in return took good care of me. It's funny, life was hard sometimes back then but it was also really good.

Above: That's me a few years latter #12 wearing those hockey elbow pads. And some hockey shorts I had outgrown a few years before. Until next time Please RIDE SAFELY and remember to Always....RESCUE, RESTORE & RECYCLE
Cheers, Hugh
 
Cycling Blog Directory